

TL;DR:
- Arizona residents are increasingly creating personalized t-shirts to showcase regional imagery and pride.
- Designing successful shirts involves choosing bold, simple artwork and high-quality, comfortable fabrics.
- Proper transfer techniques and finishing touches ensure durability and long-lasting wear of custom desert-themed apparel.
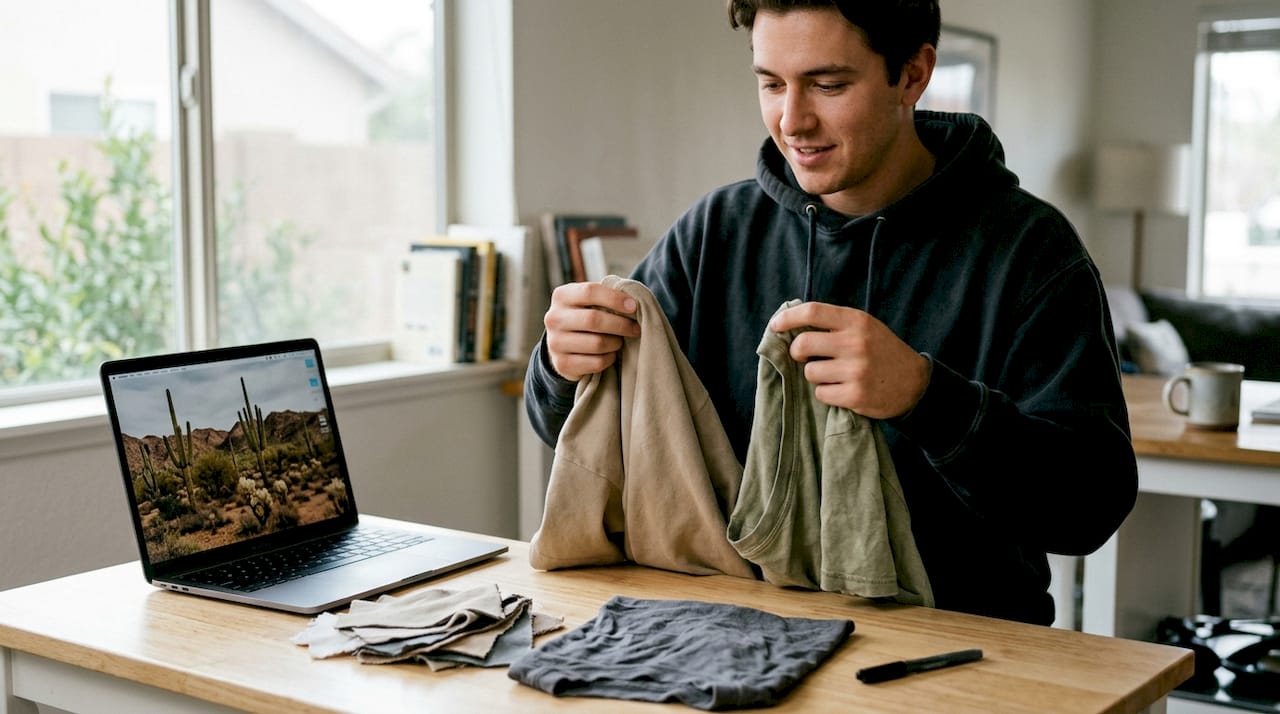
You picture it clearly: a t-shirt that captures the glow of a Sonoran sunset, the silhouette of a saguaro cactus, or the rugged outline of the Superstition Mountains. But when you sit down to actually make it, the blank shirt stares back and the ideas feel stuck. You’re not alone. More Arizona residents and visitors are turning to custom t-shirts as a way to carry a piece of the desert with them, whether as a personal keepsake or a meaningful gift. This guide walks you through every step, from gathering your materials to finishing your shirt with lasting quality, so you can create something that truly feels like Arizona.
Table of Contents
- Gathering your materials and inspiration
- Designing your Arizona-inspired artwork
- Transferring your design onto the shirt
- Troubleshooting and finishing touches
- Why personalizing t-shirts in Arizona is more than a trend
- Ready to craft your Arizona tee?
- Frequently asked questions
Key Takeaways
| Point | Details |
|---|---|
| Get inspired by Arizona | Draw design ideas from the state’s unique landscapes and cultural symbols. |
| Choose the right materials | Select high-quality cotton shirts and suitable transfer methods for lasting results. |
| Use simple steps | Follow a clear workflow from design to application for a smooth, DIY experience. |
| Fix mistakes easily | Troubleshoot common issues and add custom touches for the perfect finish. |
Gathering your materials and inspiration
Once you’re motivated to create your own Arizona tee, the first step is preparing your supplies and finding inspiration. Having everything in place before you start saves time and prevents frustrating mid-project stops.
What you’ll need
Here’s a breakdown of the core materials and your options for each:
| Category | Basic Option | Upgraded Option |
|---|---|---|
| Blank shirt | Standard cotton tee | Ring-spun or tri-blend fabric |
| Design tool | Pencil and paper | Digital software (Canva, Procreate) |
| Transfer method | Iron-on transfer paper | Heat press machine |
| Finishing tools | Fabric markers | Embroidery thread or patches |
| Printer | Home inkjet printer | Professional print shop |
For most beginners, a standard 100% cotton shirt is the smartest starting point. Cotton holds ink well, breathes in Arizona’s intense heat, and gives you a smooth surface for transfers. You can explore a wide range of Arizona t-shirt options to find the right blank before you begin.
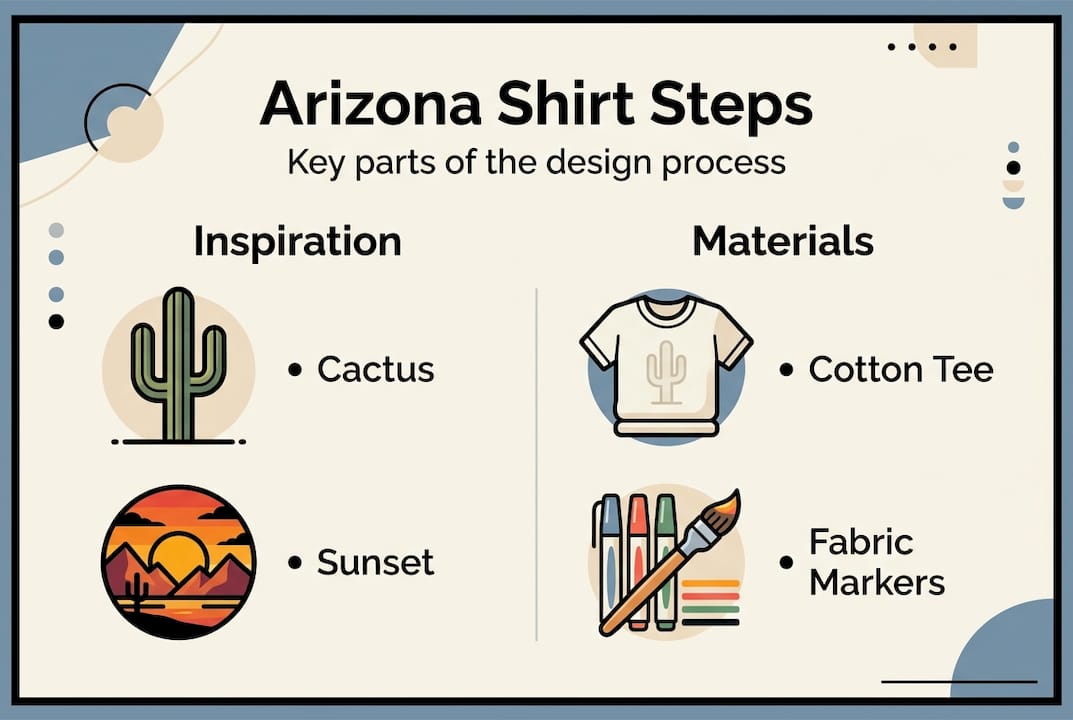
Finding your desert-themed inspiration
Arizona offers an almost overwhelming palette of visual inspiration. The key is narrowing it down to one strong image or concept. Here are some of the most popular themes to consider:
- Cacti and succulents: Saguaro, prickly pear, and ocotillo shapes are instantly recognizable and transfer beautifully onto fabric.
- Desert sunsets: Warm gradients of terracotta, rust, amber, and coral create stunning visual impact on a shirt.
- Wildlife: Roadrunners, Gila woodpeckers, javelinas, and rattlesnakes all carry strong regional identity.
- Landmarks: The Grand Canyon rim, Monument Valley buttes, and Sedona red rocks are iconic silhouettes.
- Typography: Arizona city names, phrases like “Desert Life” or “AZ Raised,” and vintage-style lettering all work well.
For a deeper pool of ideas, browsing t-shirt design inspiration can help you visualize how these themes translate onto actual garments.
Choosing the right fabric and fit
Fabric matters more than most beginners expect. A heavier cotton shirt (6 oz and above) holds screen-printed designs better, while lighter shirts (4 to 5 oz) work well with heat transfers and are more comfortable in summer heat. Fit also plays a role: a fitted shirt shows off detailed artwork more clearly, while a relaxed fit gives a streetwear look that suits bold, graphic designs.
Pro Tip: Stick to earth-tone base colors like sand, cream, olive, or terracotta when designing Arizona-themed shirts. These shades complement desert imagery naturally and make your artwork pop without competing with it.
Designing your Arizona-inspired artwork
With your materials ready and ideas flowing, it’s time to create your actual design. This stage is where your Arizona vision takes shape, and it’s more approachable than it sounds.
From concept to draft
Follow these steps to move from a rough idea to a finished design:
- Sketch your concept. Use pencil and paper to draw a loose version of your idea. Don’t worry about perfection here. Focus on the overall shape and composition.
- Simplify the image. Remove unnecessary detail. Designs that work well on fabric are clean, bold, and readable from a few feet away.
- Choose your color palette. Limit yourself to two or three colors for your first design. Desert palettes work beautifully: think rust, sage green, sand, and deep blue.
- Go digital (optional but recommended). Scan or photograph your sketch, then refine it using a free tool like Canva or Adobe Express. Both allow you to clean up lines and adjust colors easily.
- Export at high resolution. Save your final design as a PNG file at 300 DPI (dots per inch) or higher. This ensures sharp, crisp results when printed or transferred.
If you want a guided starting point, exploring an Arizona design workflow can show you how finished designs come together from start to print.
Keeping designs transfer-ready
Important: High-contrast designs transfer most clearly onto fabric. Avoid thin lines, gradients, or tiny text in your first attempt, as these details often blur or fade during the transfer process.
For beginners, bold outlines and solid fills are your best friends. A simple saguaro silhouette in black on a sand-colored shirt, for example, is both striking and easy to execute. Once you’re comfortable with the process, you can experiment with more complex layered designs.
When selecting your shirt for the design, the fabric weave matters. A smooth-surface cotton tee selection gives transfers a clean, even base that holds detail better than textured or slubbed fabrics.
Pro Tip: Simple shapes work best on tees. A single bold icon, like a cactus or a mountain outline, almost always looks more professional than a busy, cluttered composition.
A note on copyright
If you’re creating a shirt for personal use or as a gift, you have a lot of creative freedom. However, avoid copying logos, brand artwork, or images you find online without permission. Original artwork or designs based on your own photography are always the safest and most rewarding choices.
Transferring your design onto the shirt
Now that your design is finalized, let’s apply it to your shirt safely and successfully. This is the step most people feel nervous about, but careful preparation makes it straightforward.
Step-by-step transfer process
- Pre-wash your shirt. Washing removes sizing chemicals from new fabric and prevents shrinkage that could distort your design later.
- Print your design onto transfer paper. Use an inkjet printer for most iron-on papers. Mirror your image before printing if the transfer paper requires it (check the package instructions).
- Set up your workspace. Use a hard, flat surface. A wooden cutting board on a table works well if you don’t have an ironing board.
- Position the transfer. Place your design face-down on the shirt exactly where you want it. Use a ruler to center it properly.
- Apply heat. Press firmly with an iron on the highest cotton setting, or use a heat press set to the paper manufacturer’s recommended temperature (usually between 350°F and 375°F).
- Peel and inspect. Allow the transfer to cool completely before peeling. Rushing this step causes smearing or incomplete transfer.
Safety reminder: Always use adult supervision and proper safety precautions when working with heat tools. Keep children away from the work area and use heat-resistant gloves when handling hot materials.
DIY vs. professional printing: a comparison
| Factor | DIY Iron-On | Professional Print Shop |
|---|---|---|
| Cost | Low (under $20) | Higher ($15 to $40 per shirt) |
| Quality | Good for simple designs | Excellent for detailed artwork |
| Durability | Moderate (fades over time) | Long-lasting with proper care |
| Setup time | 30 to 60 minutes | 1 to 5 business days |
| Best for | Personal projects, small batches | Gifts, bulk orders, complex designs |
For a shirt you want to wear regularly and wash frequently, professional screen printing or direct-to-garment (DTG) printing offers noticeably better durability. A smooth, tightly woven cotton t-shirts for transfers gives both methods the best possible surface to work with.
Fixing common transfer mistakes
If your transfer lifts at the edges, re-press with firm, even pressure and allow it to cool fully before peeling again. If the design looks faded after transfer, the iron temperature was likely too low. Test on a scrap piece of fabric first to dial in the right heat setting. For a reliable base that responds well to heat, the Gildan G200 tee is a popular choice among DIY enthusiasts for its consistent cotton weight.
Troubleshooting and finishing touches
After successfully transferring the design, it’s time to perfect your shirt for long-lasting wear. A few extra steps here make a significant difference in how your shirt holds up over time.
Common problems and how to fix them
- Faded or dull colors after transfer: The iron temperature was too low, or the shirt fabric was damp. Re-press with dry heat at the correct temperature.
- Design peeling at the edges: Edges weren’t pressed firmly enough. Use a firm, circular motion around the perimeter of the design and allow full cooling before peeling.
- Misaligned print: Measure and mark your placement with chalk or tailor’s tape before applying heat. Always double-check alignment before pressing.
- Ink cracking after washing: The design wasn’t heat-set properly, or the shirt was washed in hot water. Always wash custom shirts inside-out in cold water.
- Transfer paper residue on shirt: Some papers leave a slight sheen. A second press with a clean cloth between the iron and shirt can reduce this.
Adding Southwest finishing touches
Once the main design is set, small handmade details can elevate your shirt from good to genuinely special. Consider these additions:
- Fabric markers: Draw fine details like cactus spines, feather patterns, or geometric borders directly onto the shirt around your transfer.
- Iron-on patches: Small patches featuring turquoise stones, Navajo-inspired patterns, or Arizona state symbols add texture and dimension.
- Embroidery accents: A few stitches in rust, sage, or gold thread along the collar or sleeve add a handcrafted, artisan quality.
Pro Tip: After adding any finishing touches, place a pressing cloth over the entire design and give it one final press with a hot iron for 15 seconds. This heat-sets everything together and significantly improves wash durability.
Final quality check
Before wearing or gifting your shirt, hold it up to a bright light and check for any lifted edges, uneven color, or misalignment. Gently tug the design from multiple angles to test adhesion. For detailed guidance on getting the most from your blank shirt, Gildan cotton shirt tips offer practical care and preparation advice that applies to most cotton tees.
Why personalizing t-shirts in Arizona is more than a trend
Looking beyond the process, there’s something deeper happening when you create your own Arizona t-shirt. It’s easy to see custom apparel as just a craft project, but we think it’s something more meaningful than that.
When you design your own shirt, you’re making a deliberate choice about how you represent the place you love. Mass-produced Arizona souvenirs are everywhere, and most of them feel generic. A shirt you designed yourself, with colors you chose and imagery that means something to you personally, carries a different kind of weight. People notice it. They ask about it. It starts conversations.
There’s also something quietly powerful about wearing your own art. It shifts how you carry yourself. You’re not just wearing a shirt; you’re wearing a statement about what Arizona means to you specifically. That’s a very different experience from pulling something off a rack.
We’ve seen this play out in the broader custom t-shirt culture that has grown steadily across the Southwest. Local artists, weekend crafters, and first-time designers are all reaching for the same thing: a garment that feels authentic rather than manufactured. Arizona’s landscape, with its bold colors and iconic shapes, is one of the most naturally suited subjects for wearable art anywhere in the country. When you make your own piece of that, you’re participating in something that goes well beyond fashion.
Ready to craft your Arizona tee?
If you’re eager to take your Arizona t-shirt vision further, discover how Arizona Swag can help. Whether you’re looking for the perfect blank to start your DIY project or want a professionally finished piece, we have you covered.
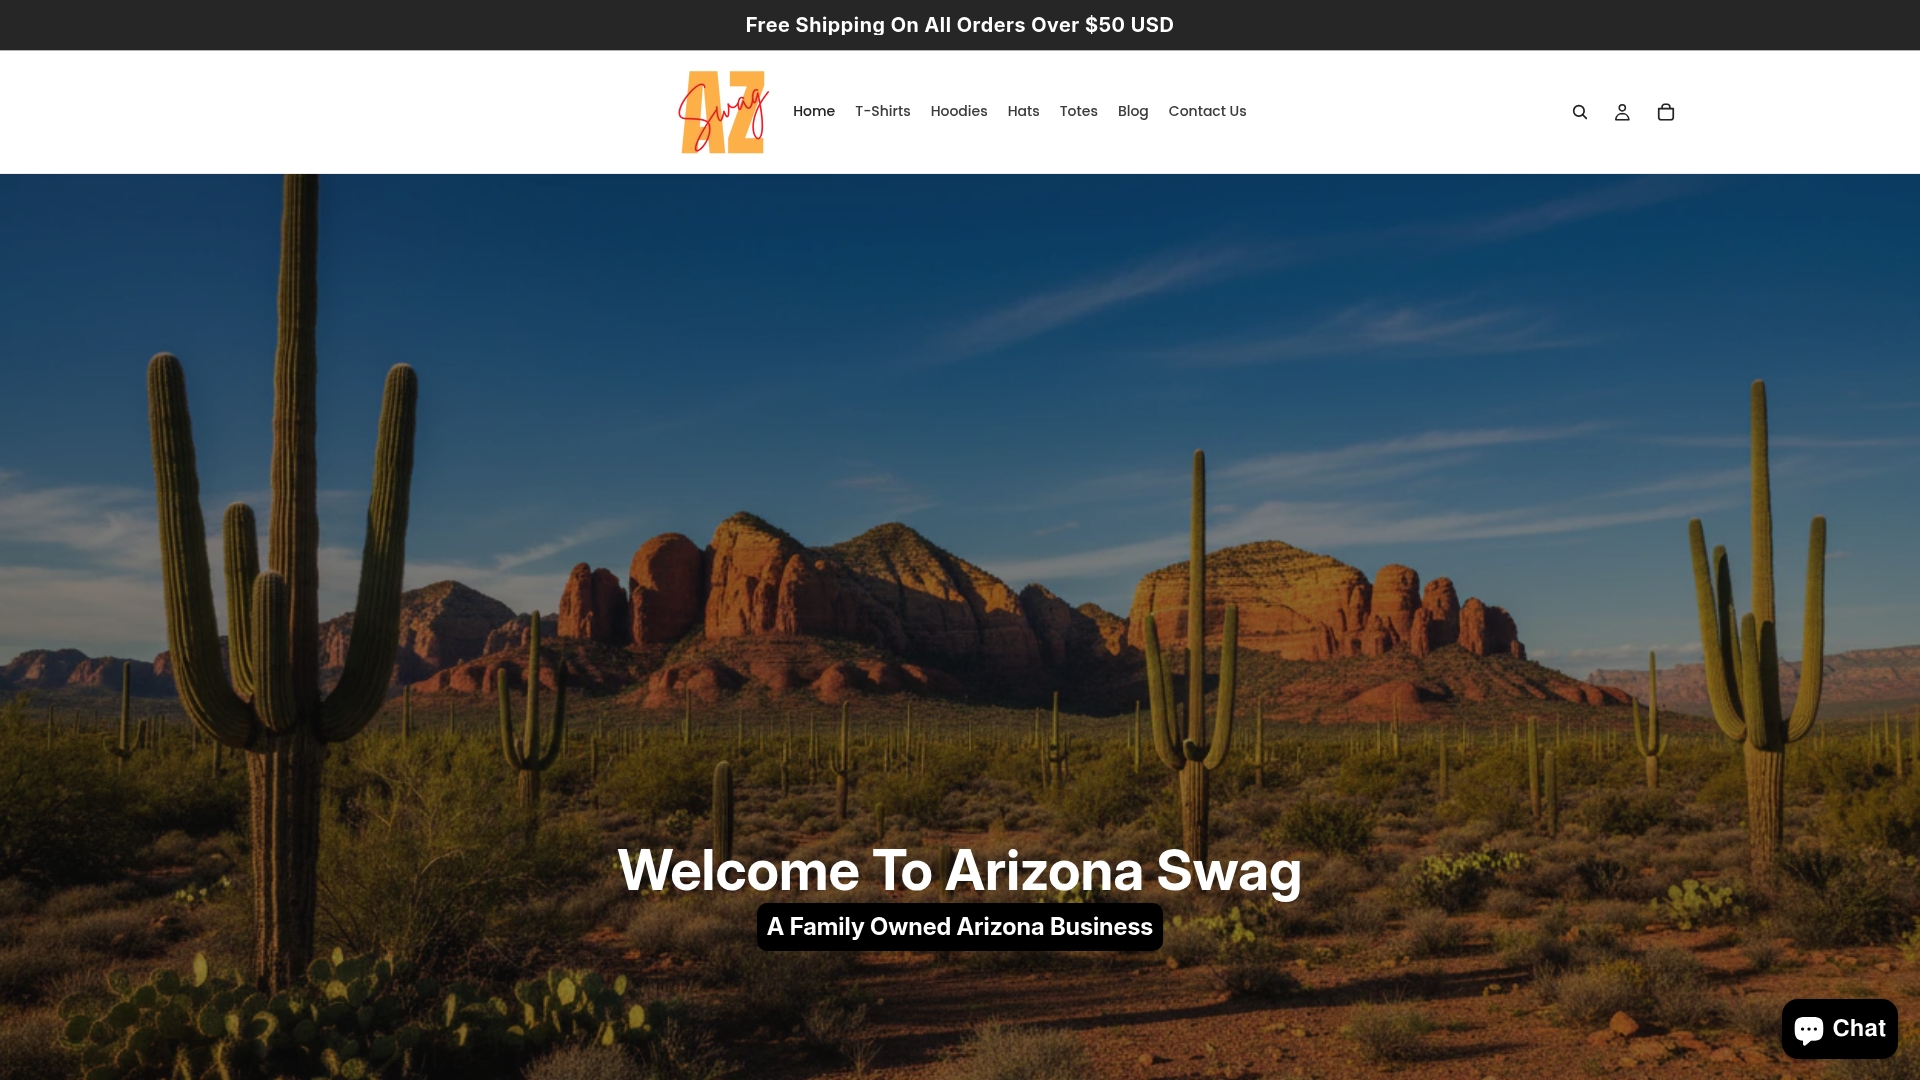
At Arizona Swag custom t-shirts, you’ll find premium blanks, bold desert-inspired prints, and apparel designed with Arizona pride built right in. If you want to layer your look, our soft cotton hoodies and ring-spun cotton hoodies pair perfectly with custom tees for cooler desert evenings. Browse our full collection and find the pieces that make your Arizona style complete. Quality, comfort, and regional character are at the heart of everything we offer.
Frequently asked questions
What is the best t-shirt fabric for custom designs in Arizona’s climate?
Lightweight 100% Cotton Tee or cotton blends work best for comfort and print quality in Arizona’s heat, offering breathability alongside reliable ink adhesion.
How can I make sure my t-shirt print lasts through washes?
Set designs with heat immediately after transfer and always wash your shirt inside-out in cold water to preserve the print and prevent cracking.
Can I use iron-on transfers at home or do I need a professional printer?
Both work well depending on your goals. Iron-on transfers are DIY-friendly and affordable, but professional printers deliver longer-lasting, more detailed results especially for complex Arizona artwork.
Do I need special software for designing desert-themed t-shirts?
Not necessarily. Free apps like Canva or even hand-drawn artwork scanned at high resolution can work beautifully, as long as the image is bold, high-contrast, and saved at 300 DPI.
What Arizona symbols are most popular for t-shirt designs?
Cacti, desert sunsets, mountain silhouettes, roadrunners, and state wildlife are consistently the most popular choices for Arizona-themed custom t-shirts.


